
A few months ago, while searching for the perfect centerpieces for our wedding reception (and not finding anything we liked), I decided to just put on my big girl pants and make something. I wanted something a little funky and unexpected with just a small pop of color, and these turned out to be the perfect solution!
After the wedding I'm looking forward to scattering these around the house on side tables, bookshelves...really just any other flat surface I can find.
If you do this DIY, show me! I want to see what you come up with and how you style them afterwards! You can tag me on instagram (@havenbythebae) or email me at havenbythebae@gmail.com. Good luck getting after it!
LET'S DO THIS!
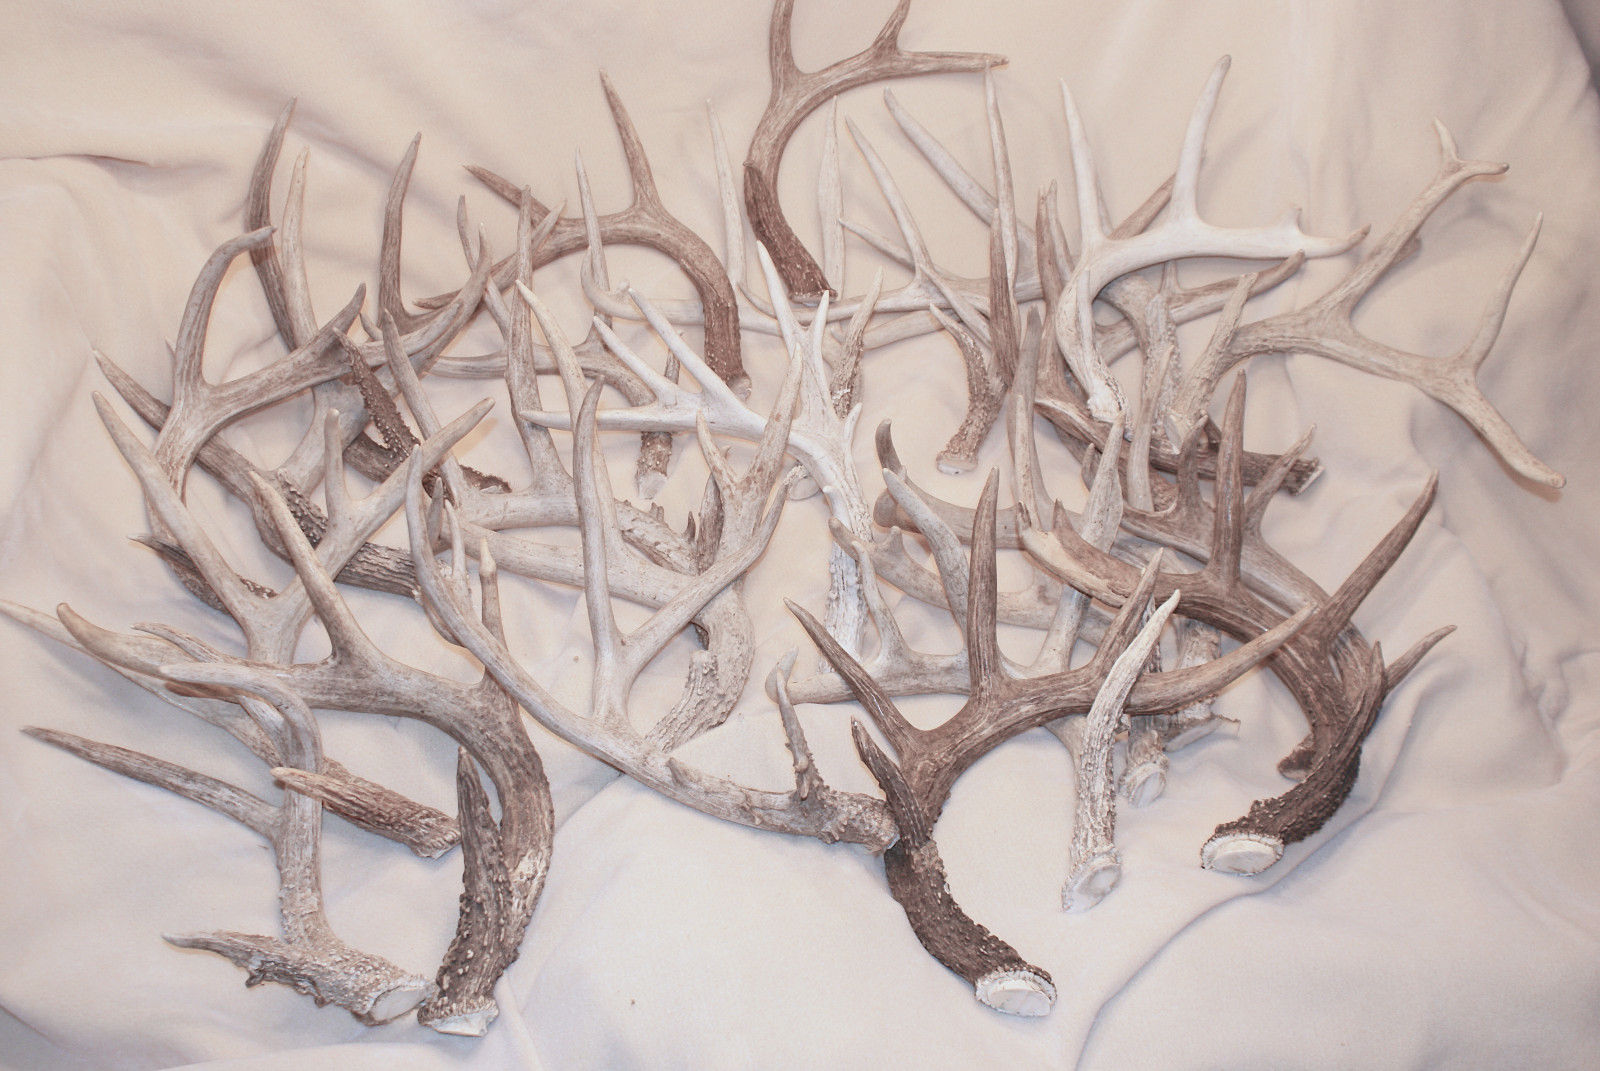
STEP 1: Buy/thrift/find some antlers. I purchased mine on Ebay. I bought a box of 25 small-medium antlers that were a little brighter and whiter than usual, probably bleached from the sun.

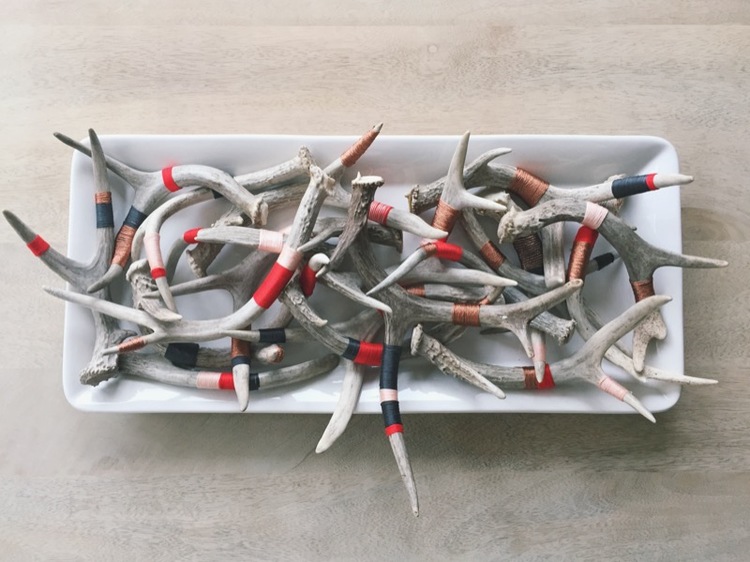
STEP 2: Grab your supplies. You'll need embroidery thread, super glue, scissors, and some newspaper to work on. I used 4 different colors of embroidery thread - neon red, peach, charcoal and metallic copper. I got mine from Michael's craft stores, along with some Gorilla super glue.

STEP 3: Prep your area. Lay some newspaper down on the surface you'll be working on. You don't want the super glue to get everywhere...and it wants to. For the antlers, I chose to just run them all under some warm water and wipe with paper towels to get the dust off. If you do this, let them dry completely before you start with the glue.
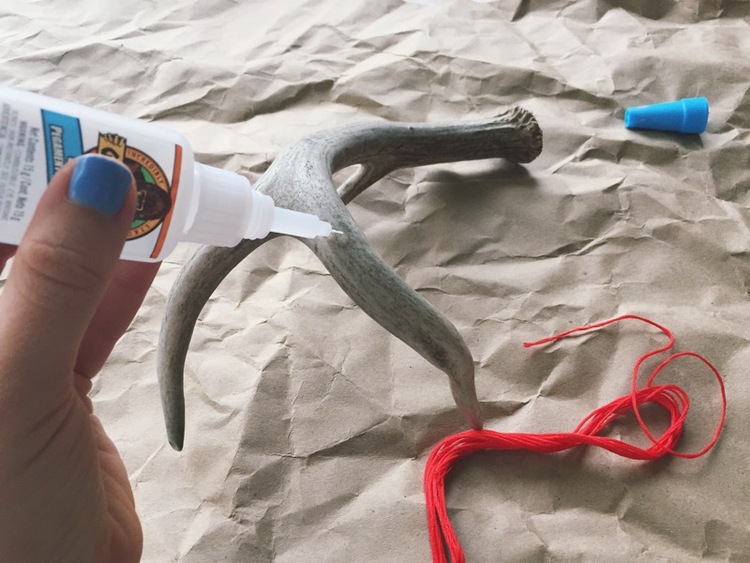
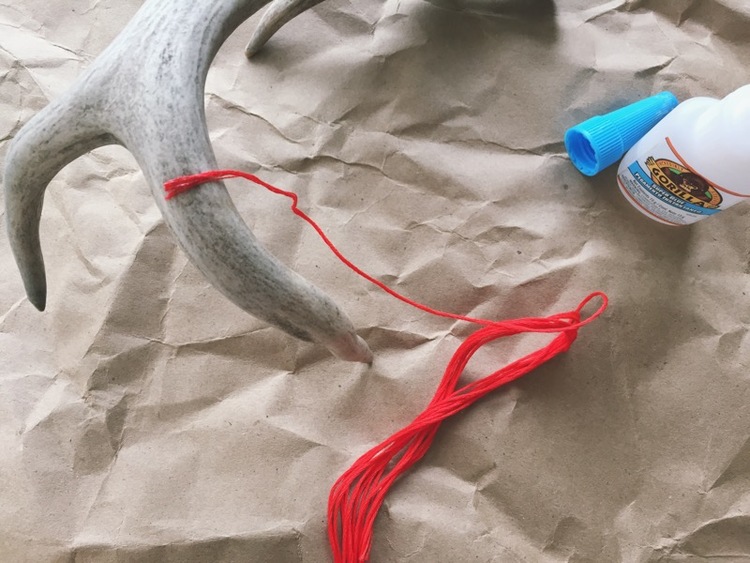
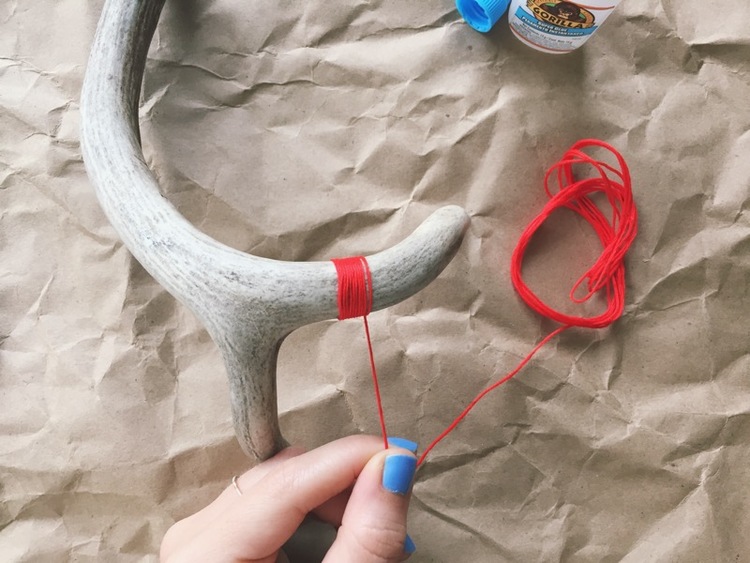
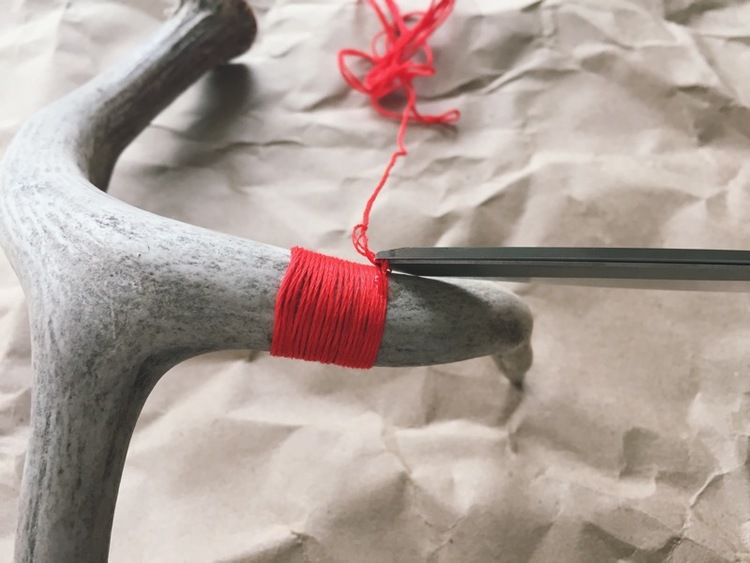
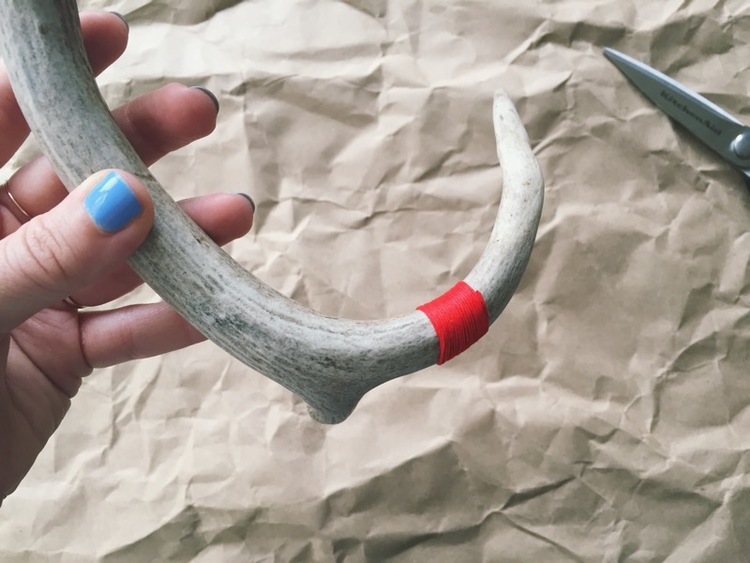
STEP 4: Wrap 'em! Start by putting 1 drop of glue onto the bottom side of the antler where you want your wrap to start. Let the glue sit to get tacky (about 20 seconds) and then place the end of your first color of embroidery thread on the glue. I used the top of the glue cap to lightly press the thread into the glue so it reeeeeally sticks there. Once the glue is dry (takes about a minute) start by tightly wrapping the thread around the antler, continuously pushing it down so there are no little spaces between the thread. once you've reached your desired width of wrap for that color, place a drop of glue at the end of the wrap (while still pulling the thread tight) and let it dry for about a minute before very carefully cutting the thread as close as possible to the antler.
STEP 5: Repeat this over and over again. I did about 3-4 color wraps on the medium antlers, and 2-3 wraps on the smaller ones. My color combos and length of wrap varied on every antler, and yours will too. It all comes down tot the colors you choose for your wraps, the size of the antlers and your preferred color combos!

STEP 6: Show them off! When I finished all my antlers, I had nowhere to put them because they were for the wedding so I ended up just placing them all on a serving plate on my kitchen table and they surprisingly looked super rad there. So I've left them there! I've seen people hang a grouping of antlers at different lengths, either from the ceiling or from a cool bar/branch/stick, as an awesome statement piece. Or you can just place 1 or 2 antlers on side tables, book shelves, or kitchen counters and they look awesome. They are the perfect little pop of color for any rad space.